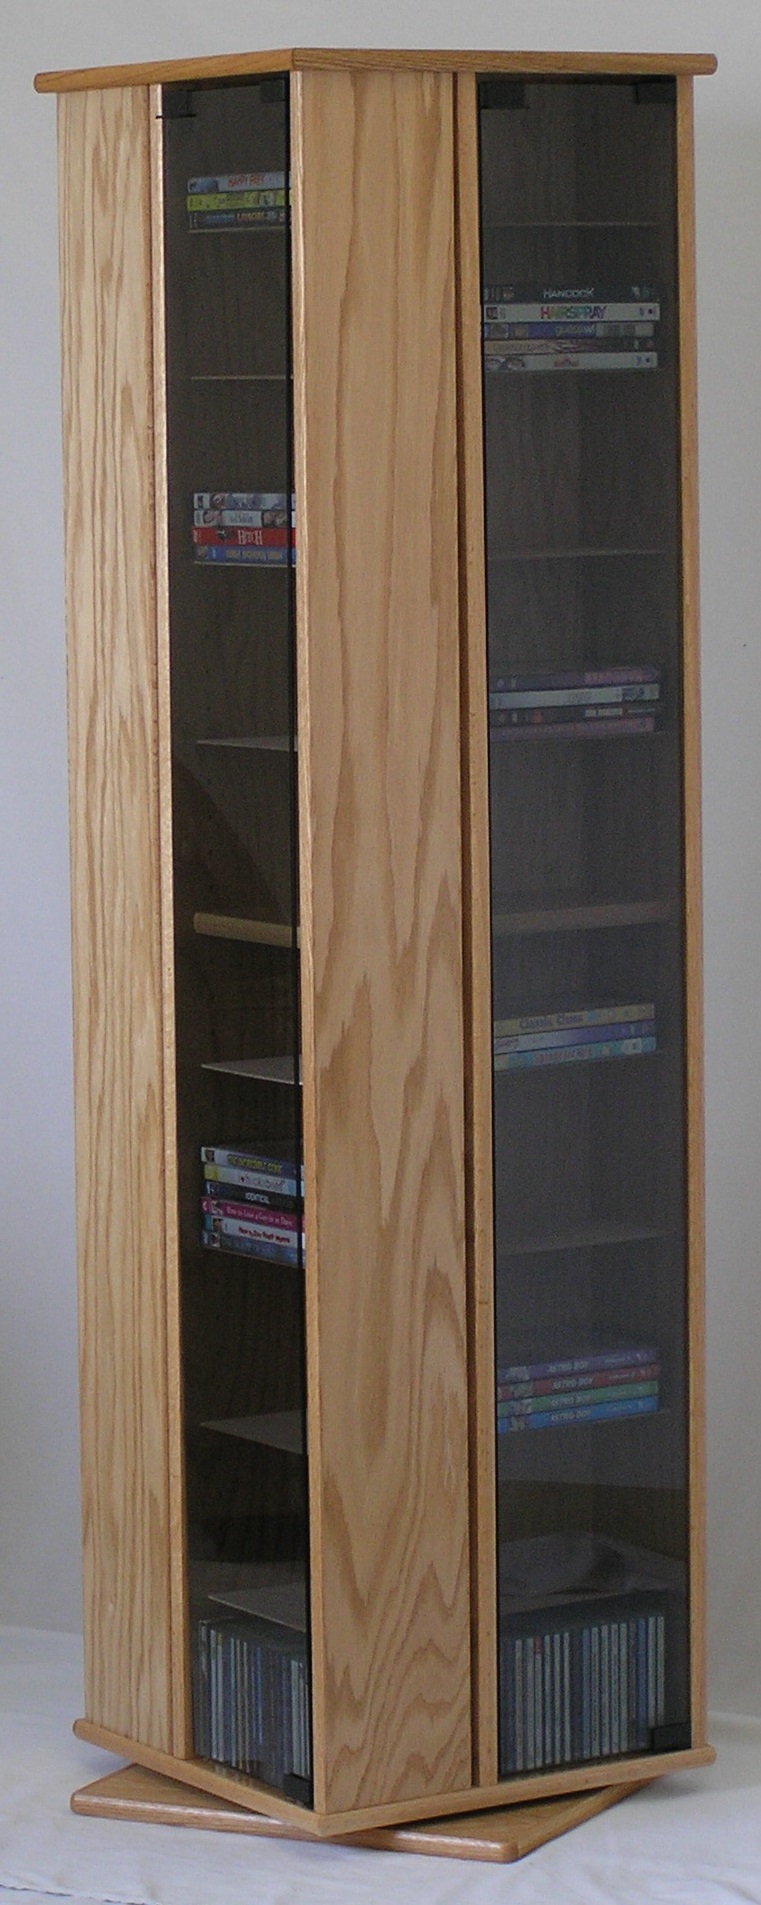
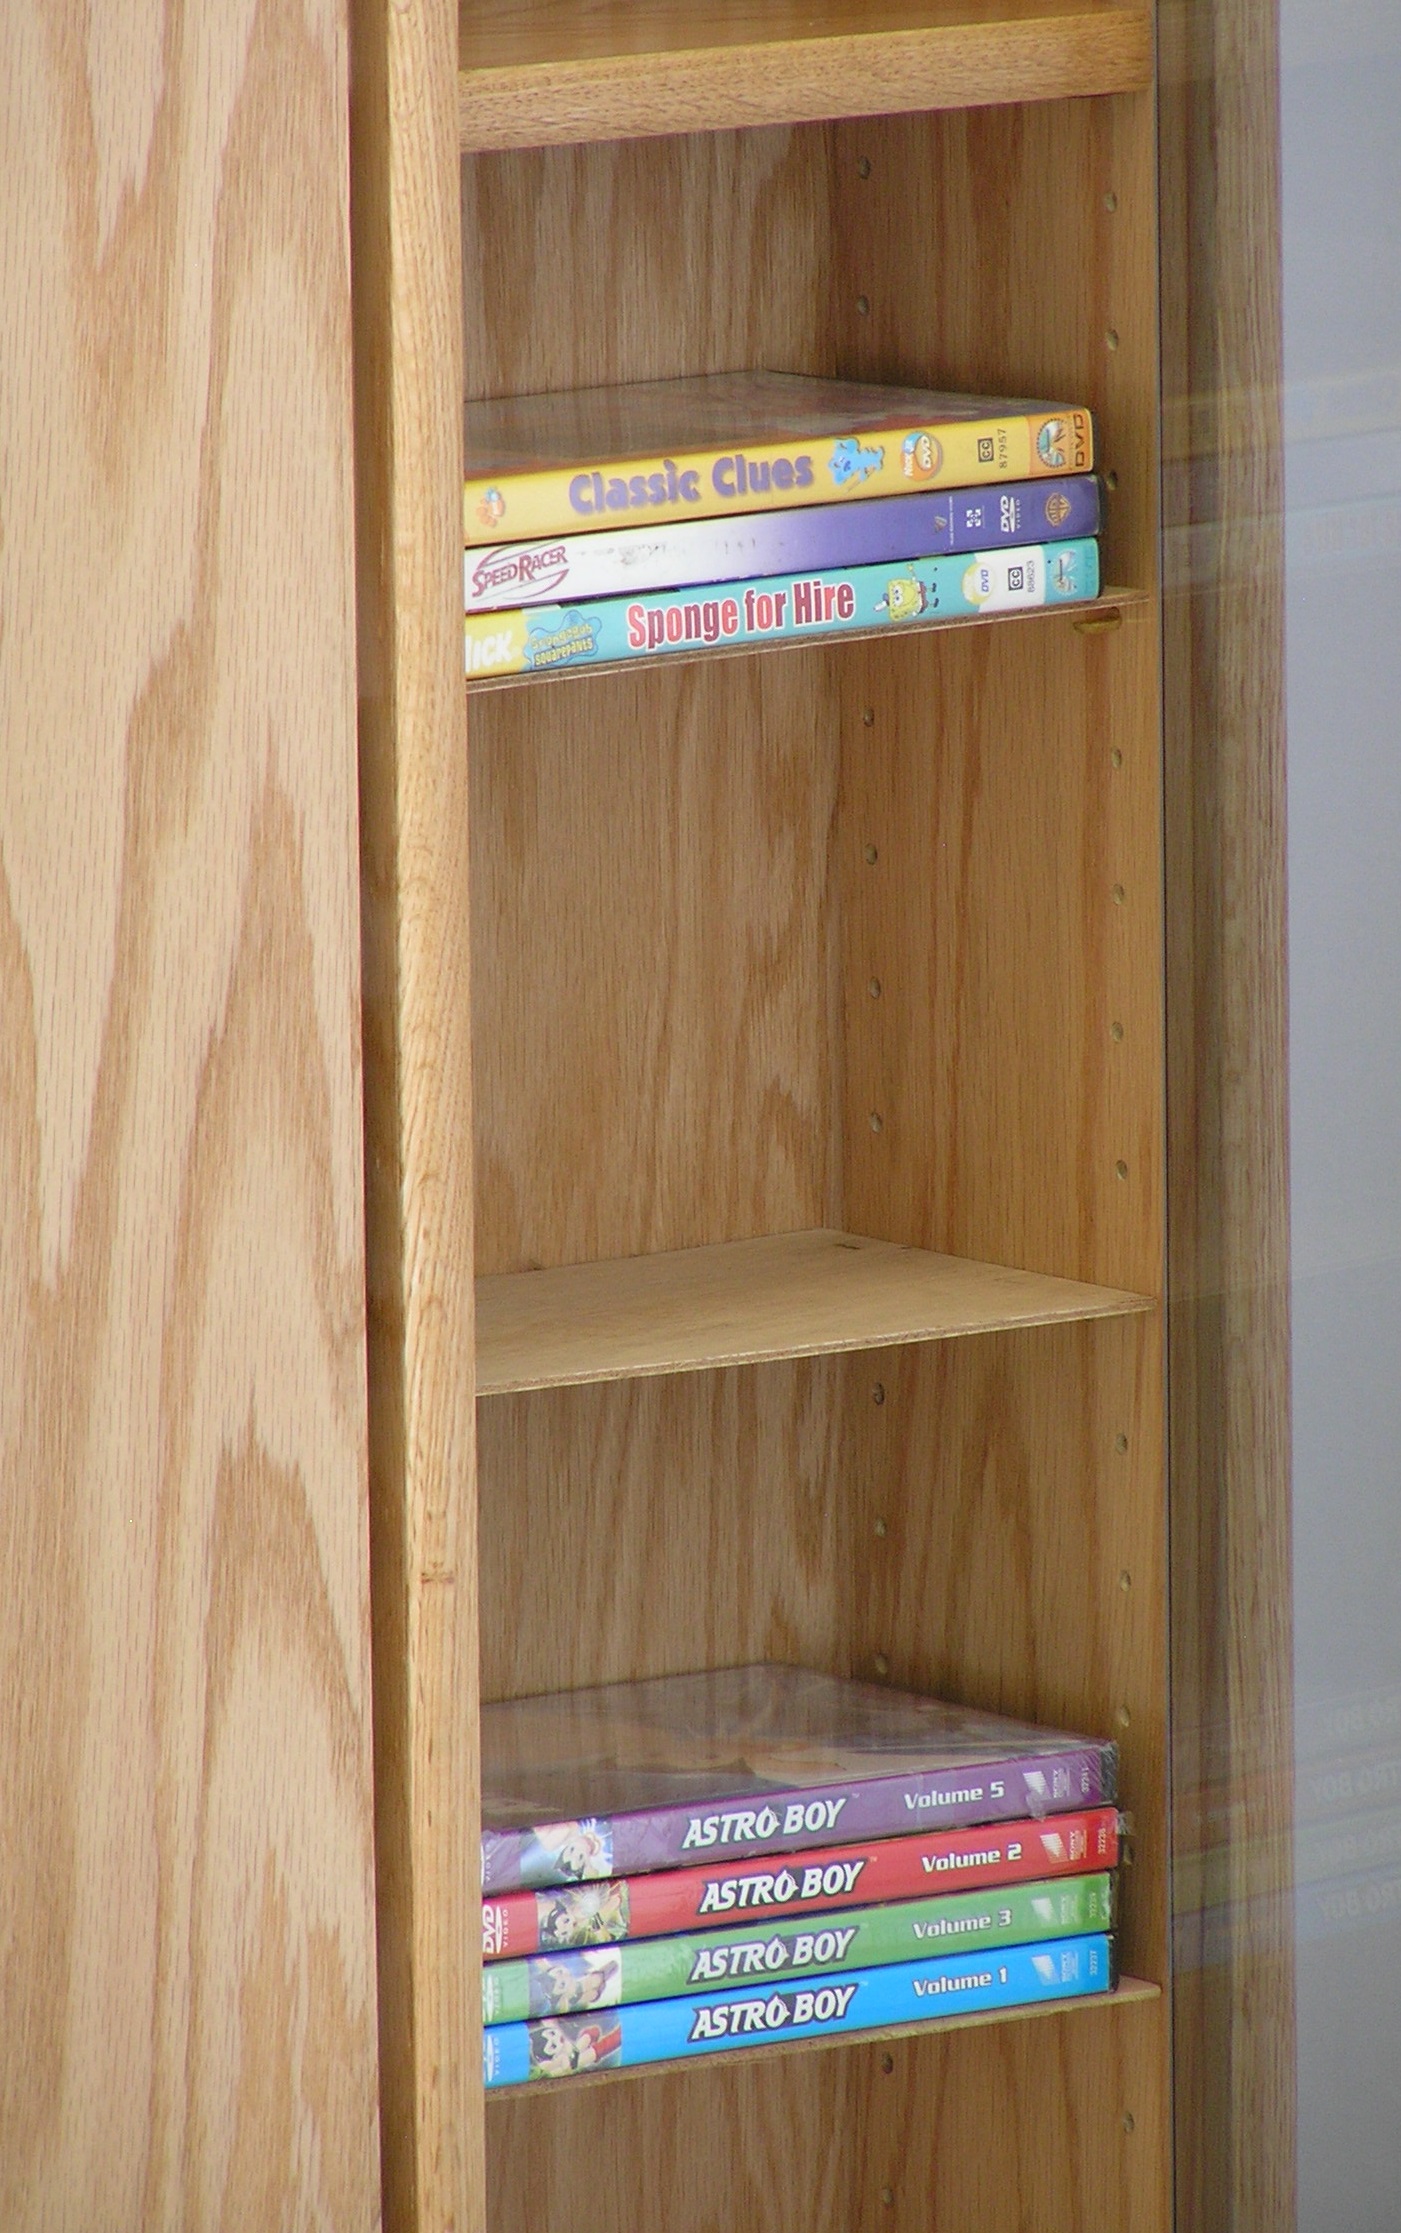
Here's how to assemble your cabinet or bookshelf.
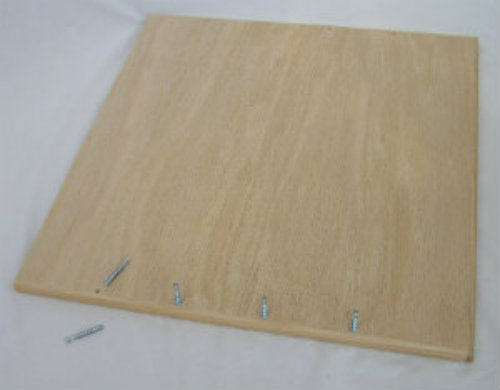
As you work, place your pieces on carpet or other soft protective surface to avoid marring the hand-polished finish. Begin with the top--the piece where the edge holes are not drilled all the way through. Place it face down so the edge holes are up.
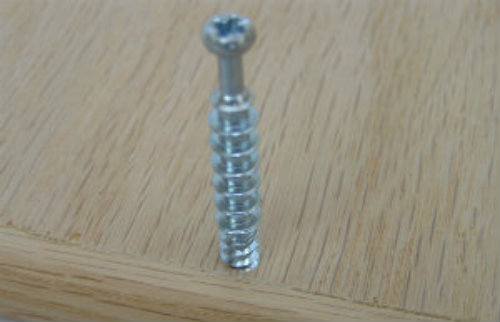
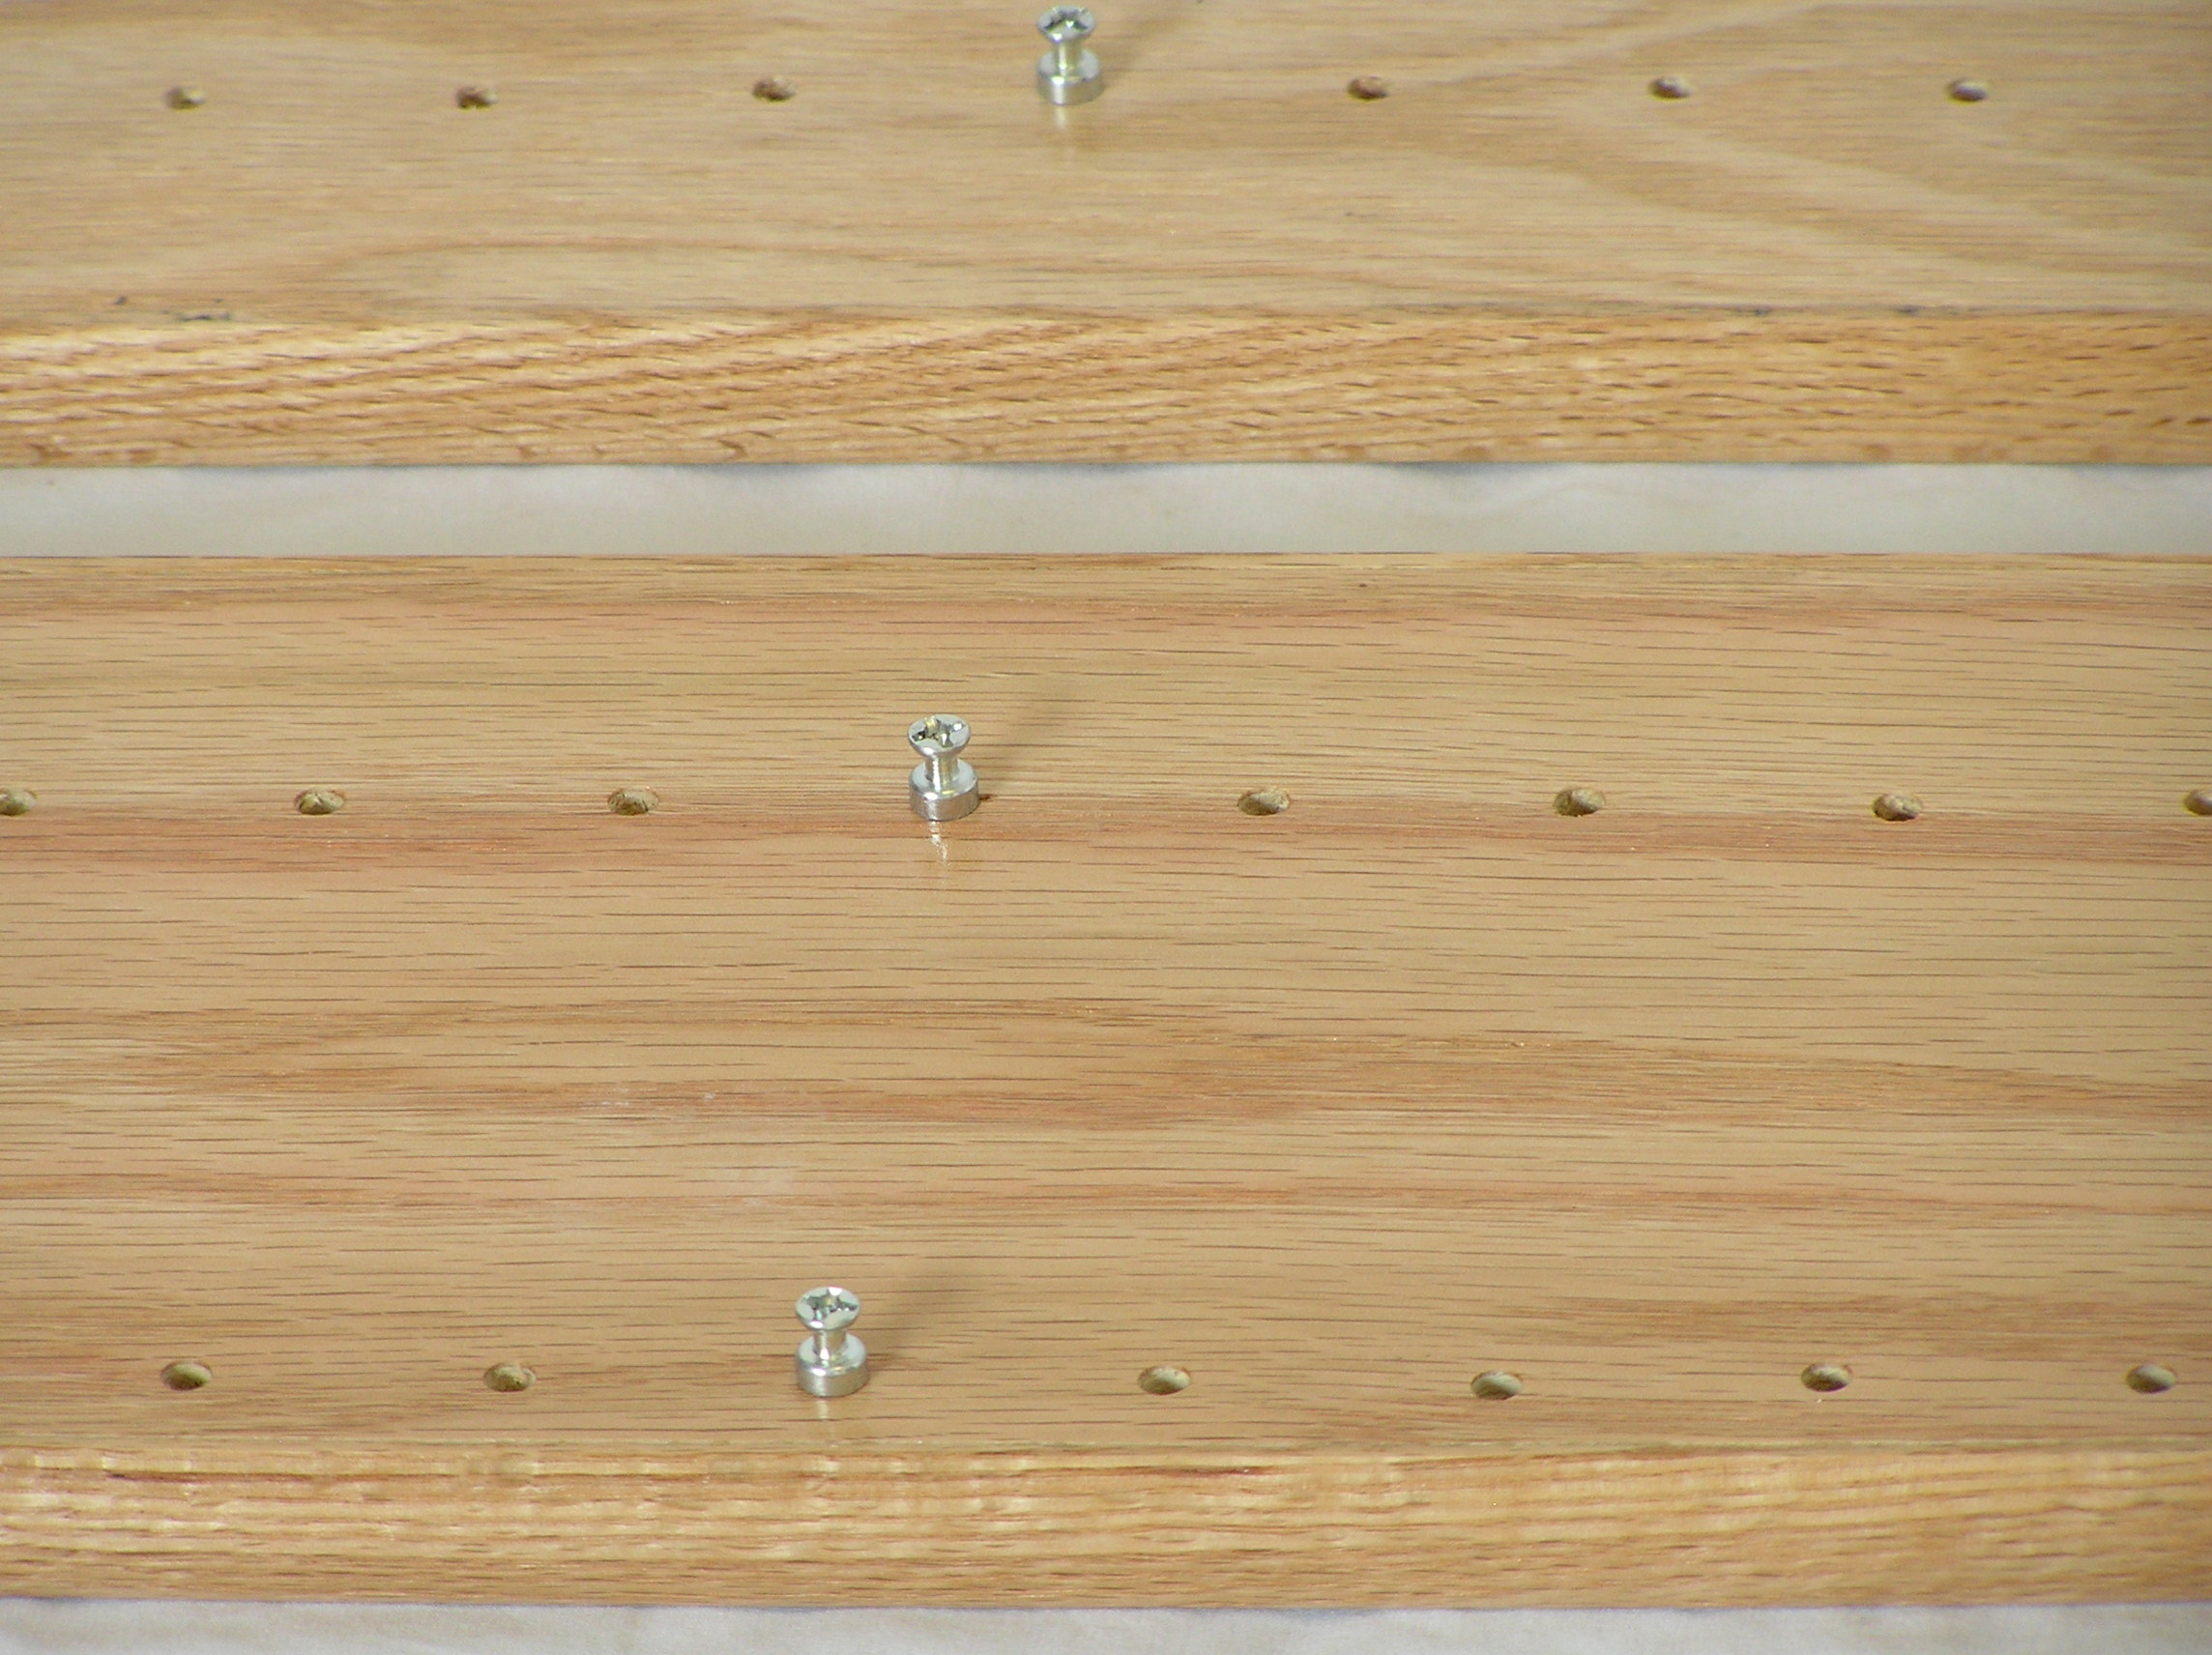
With a Phillips head screwdriver, insert a round head screw (pin) into each of these holes. The picture above shows the screw just starting to thread into the wood.
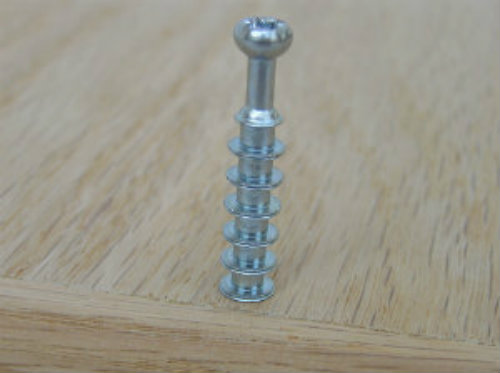
Screw it in about 1/4-inch until the first horizontal fin bottoms on the wood surface.
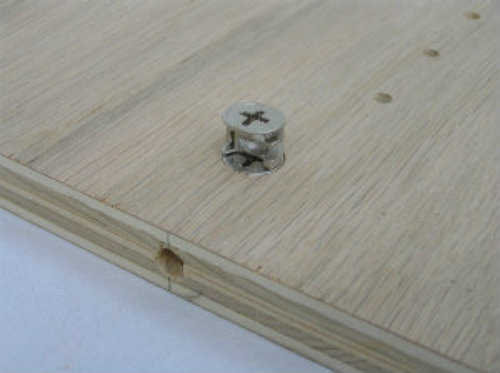
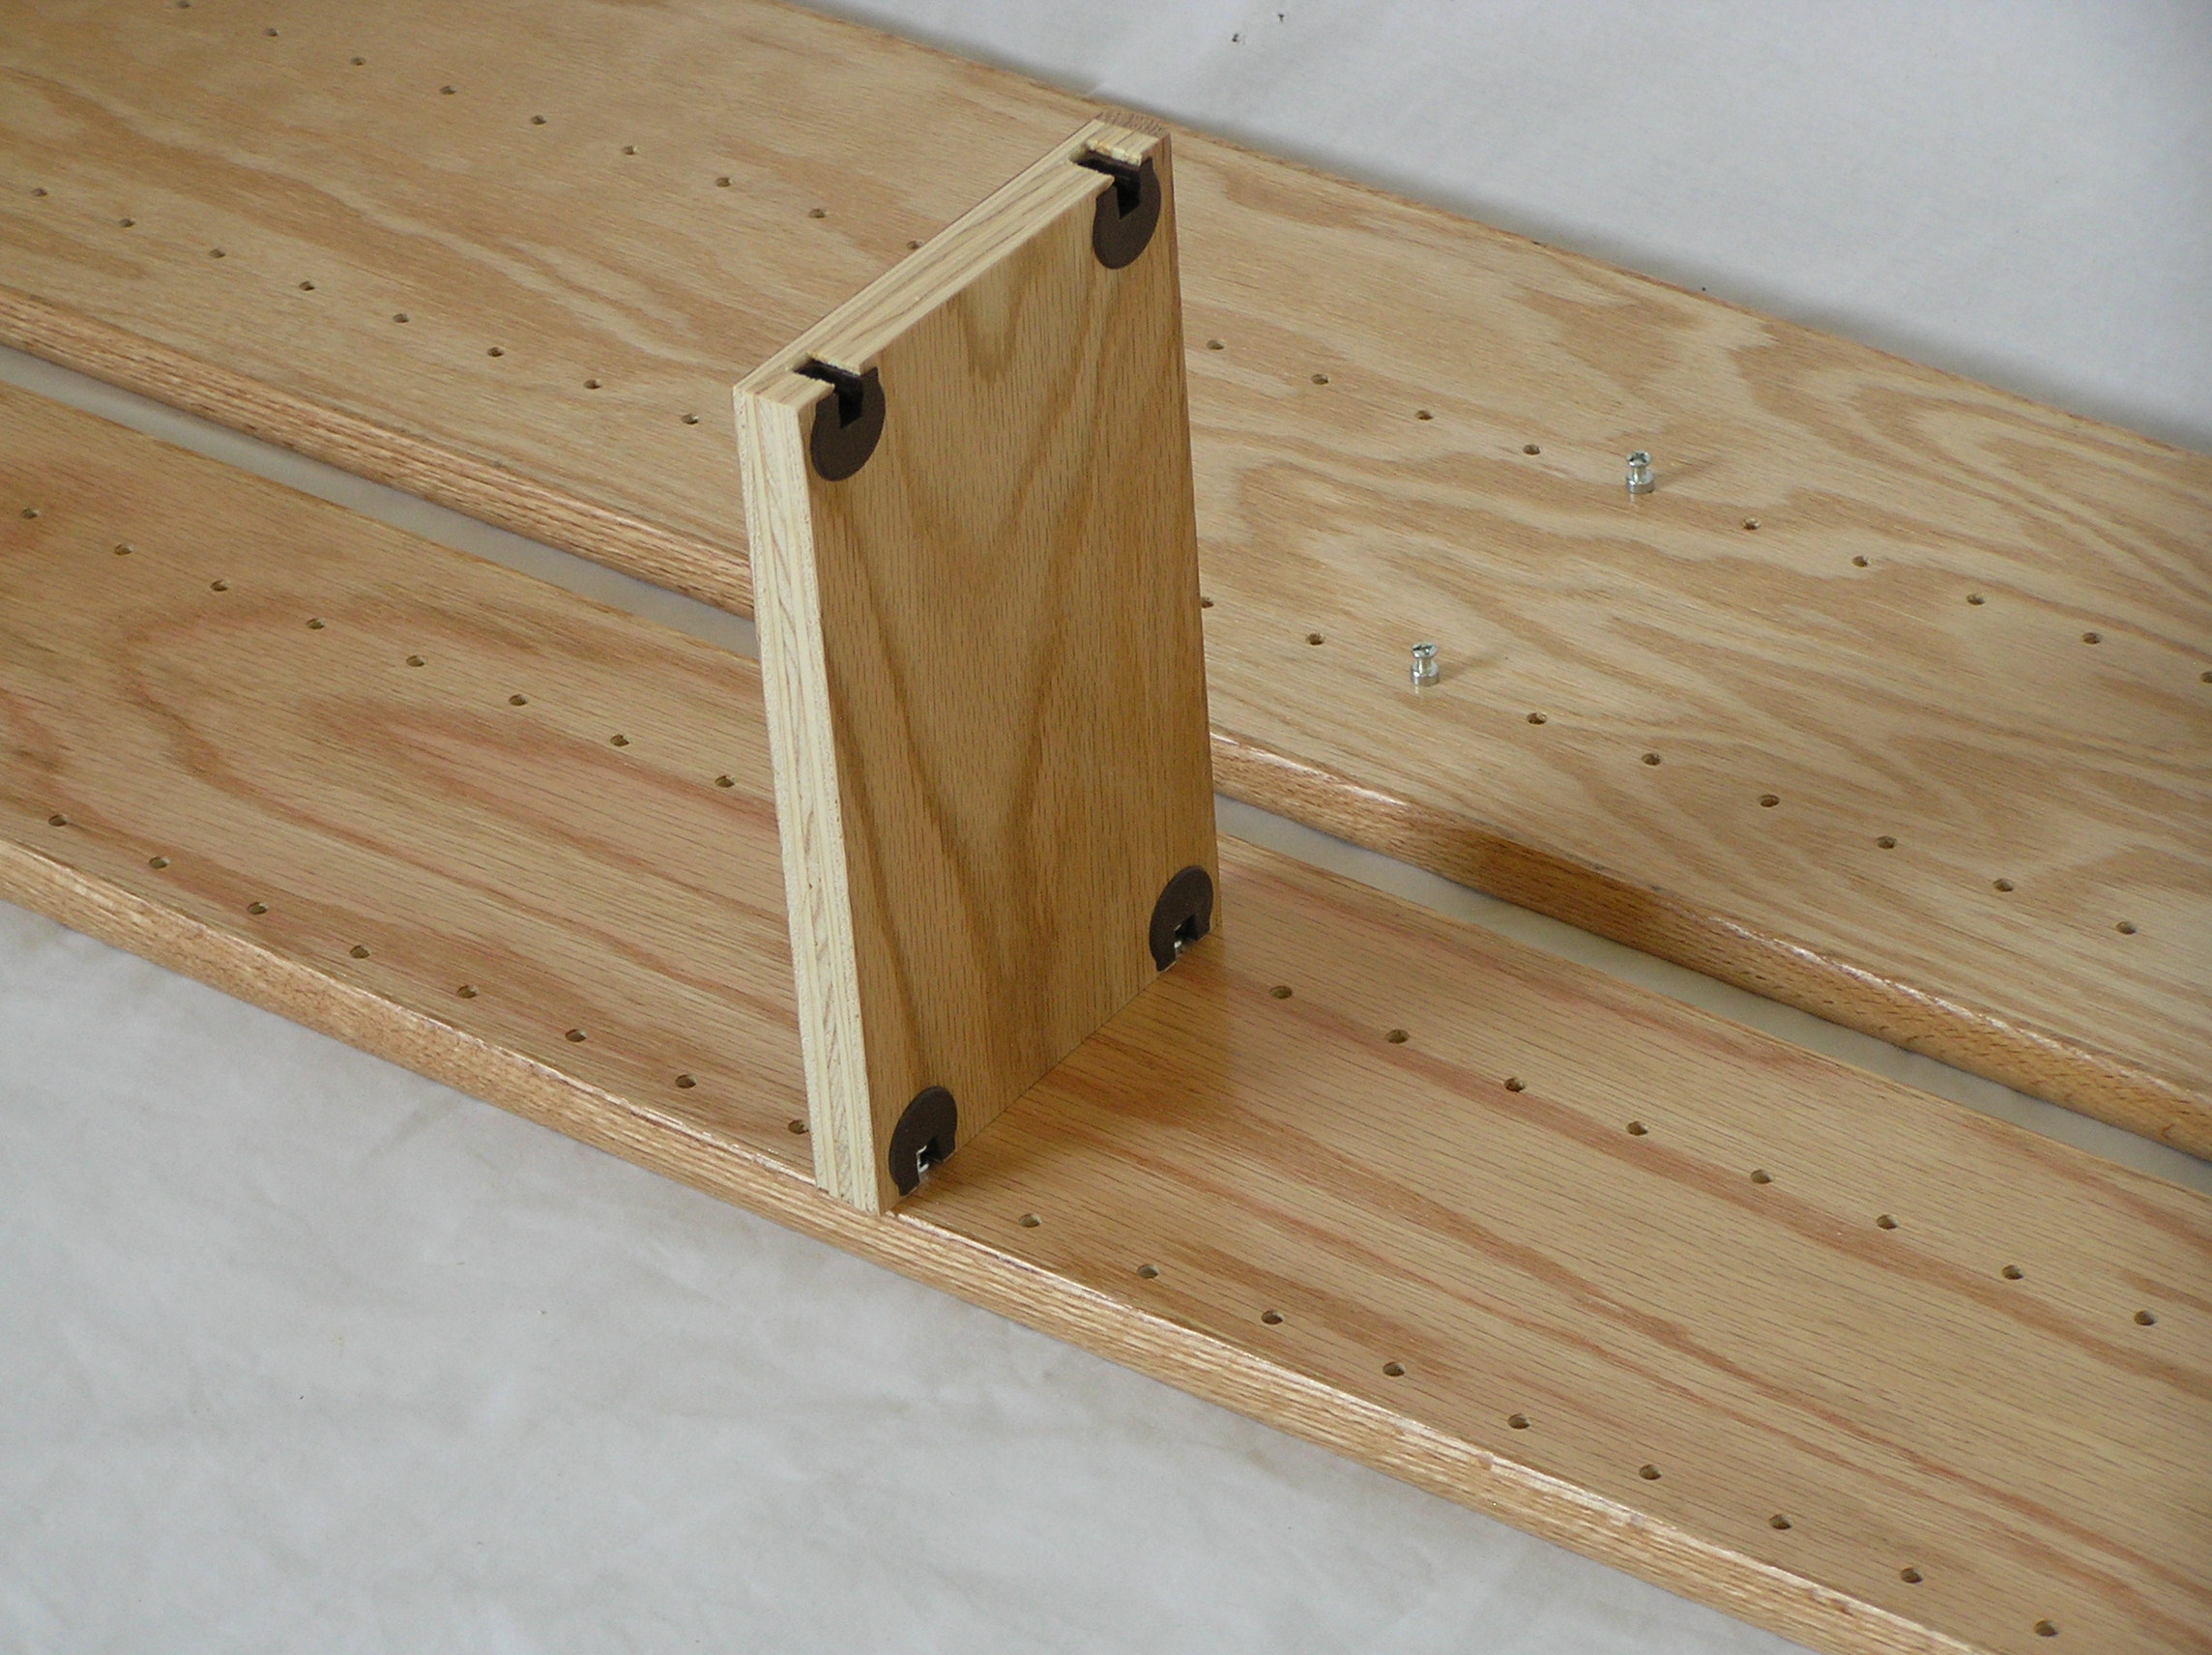
Press a cam (pictured above) into each of the holes bored into the side.
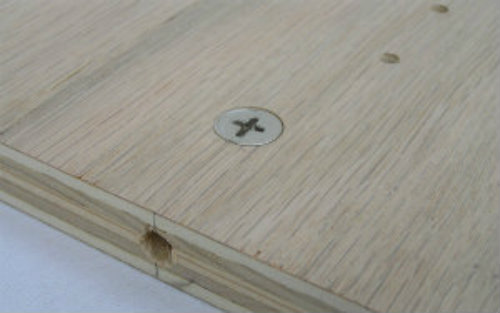
Press the cam flush with the surface of the wood so the long end of the cross points toward the hole bored in the edge, as above. This ensures the cam is open to receive the extended screw in the top.
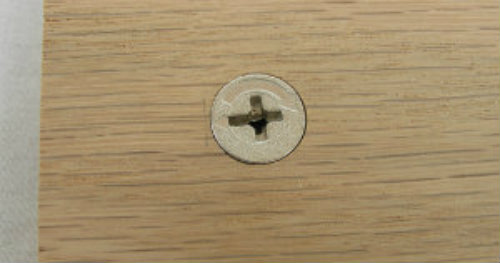
It should look like this.
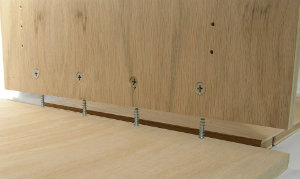
Lift the side and attach it to the top by inserting the extended edges of the screws into the side's edge holes.
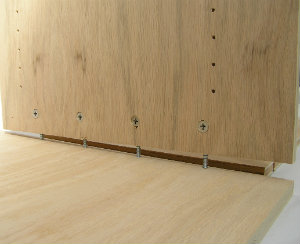
If there's resistance, adjust the cams with the screwdriver until the screws slide into place.
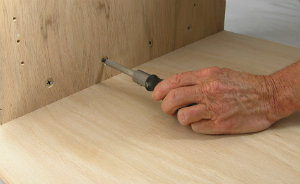
When edge of the side is flush with the top, tighten the cams clockwise until snug.
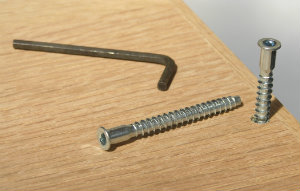
Place the bottom--the piece with holes drilled all the way through--on the upright side ends. Some models will have smaller holes for casters or swivel bearings. They should be facing up.
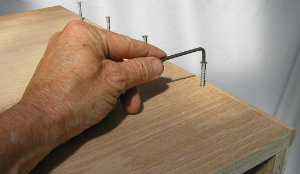
Insert hex head screws through bottom edge holes to engage the holes bored in side end.
Tighten until head is flush with bottom.
When you have both sides attached to the top and the bottom, set a shelf on the top to get the gap between the sides exact.
You might need to loosen the cams to tap the sides to get a perfect shelf fit. Then tighten the cams.
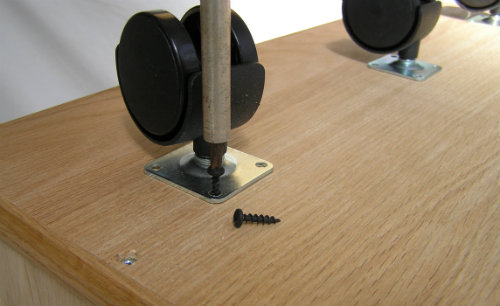
If relevant, attach the casters and caster trim. Otherwise, skip the next few steps.
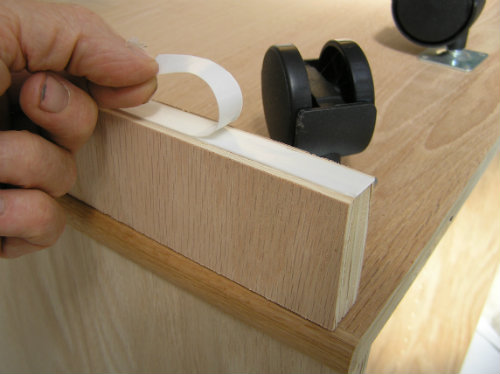
The caster trim is peel and stick; the strength of the bond will increase over time.
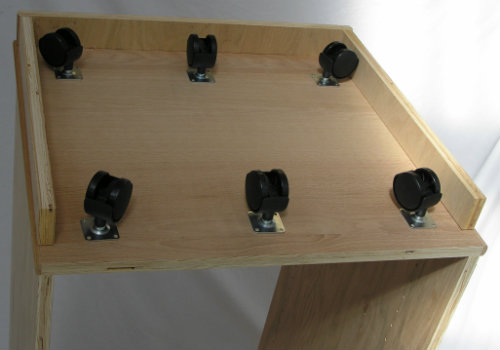
Center the front piece as above, ensuring the casters will clear it as they swivel. Press into place. Snug the side trim against the back of front trim, leaving no gaps, as above. Again, ensure the casters will clear the sides as they swivel. The gap in the back allows for wall baseboard trim.
Try a dry fit first before peeling the tape. Set the 3 trim pieces in place and mark where they should be. Then peel the tape and press them in place.
For the next step you may elect to fasten your back last. The advantage is the cabinet is open from the back so wiring your components is easy. Just be careful not to roll the cabinet around as it will be very weak and wobble without the back attached. You should wait to set your glass doors too until after the back is attached as well.
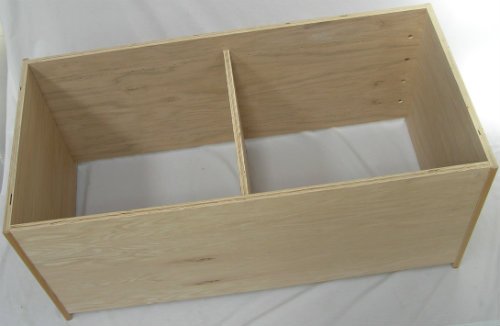
Place one or more shelves between the sides to keep them straight, as above. Run a bead of white or yellow glue around the back edge. Loctite P3 urethane glue is also highly recommended.
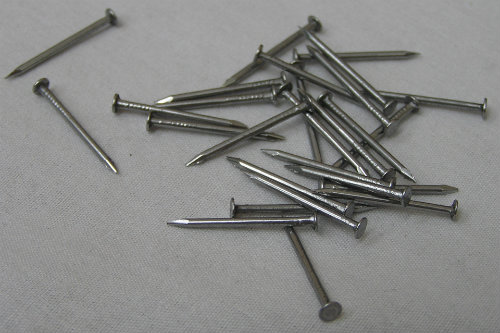
Unfold the back, and attach it with tacks, pictured below.
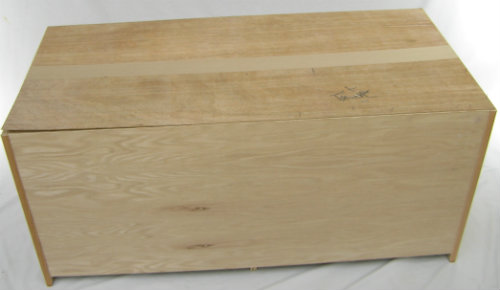
Space the tacks at equal intervals, as below.
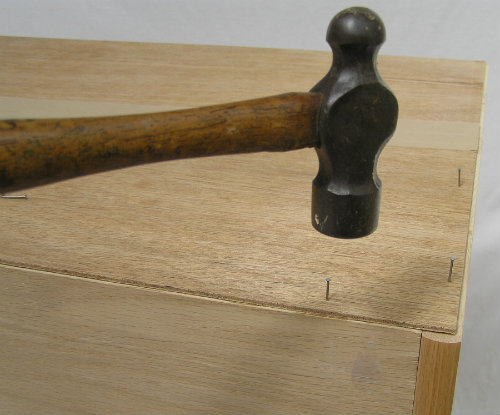
Be sure the edge spacing is even all the way around, so the cabinet will be square.
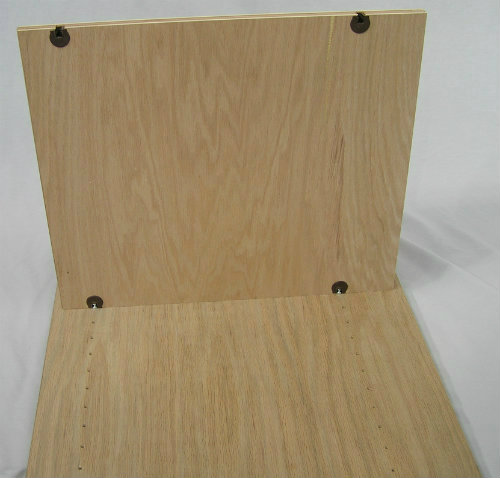
If your order included locking shelves, you'll see four inserts on the shelf bottoms.
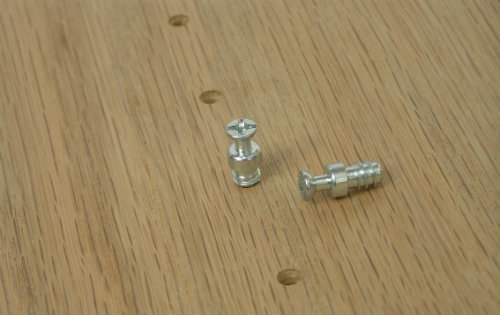
The shelf locks down on pins that screw into the adjustable shelf holes.
Position them as desired so the shelves are level.
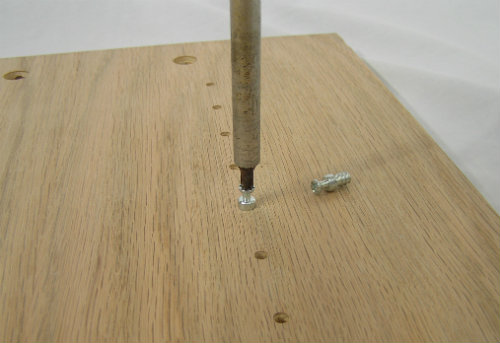
Screw in the pins until the shoulder bottoms against the side.
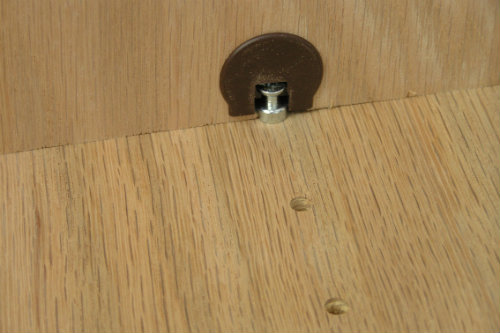
Position the shelves and press down gently to lock in place. They should bottom out about halfway into the shelf thickness when locked.
Regular shelves rest on the spoon shaped brass colored shelf supports that push into the adjustable shelf holes in the sides.
Tip your shelf into place; set the left side at the depth you'd like on the supports and push down on the right side until it also rests on the shelf supports as well.
Don't slide your shelf in horizontally as it might scratch the finish.
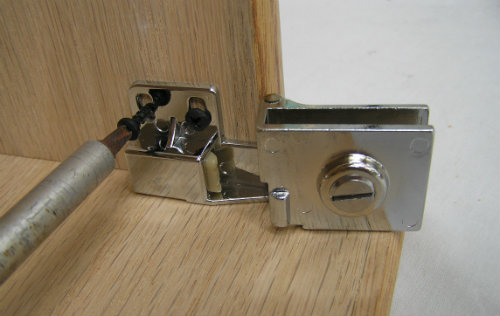
If your cabinet or bookshelves include glass doors, the black hinges mount on the side with small black screws.
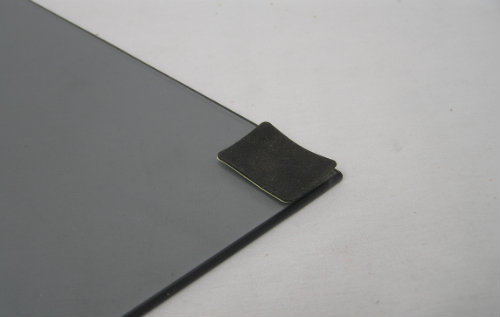
Peel and stick protective foam squares on the FRONT of the glass as pictured. (Hinge set screw has a rubber tip.) Test fit your doors before fixing the foam squares - sometimes the tempered glass is curved a bit. You'll want to match up the two edges.
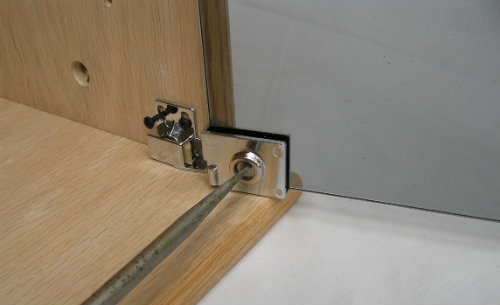
Snug setscrew enough to stop movement.
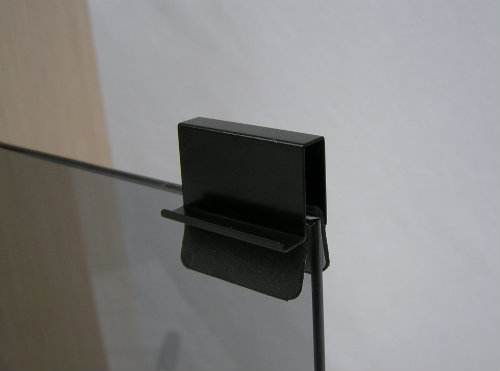
Foam wrap for door pull is peel-and-stick. Test fit these as well. You choice top or bottom or middle. Hinges are self closing, there's no need for a magnetic latch.
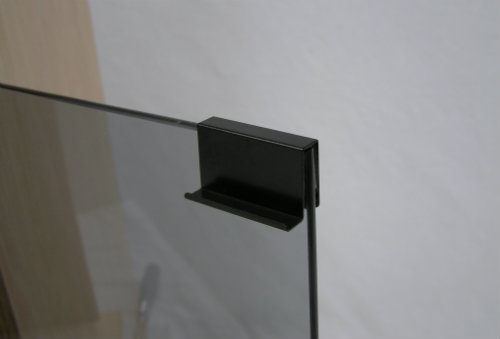
Press door pull down over foam wrap.
When your completed cabinet is in place and loaded, give doors a final adjustment.
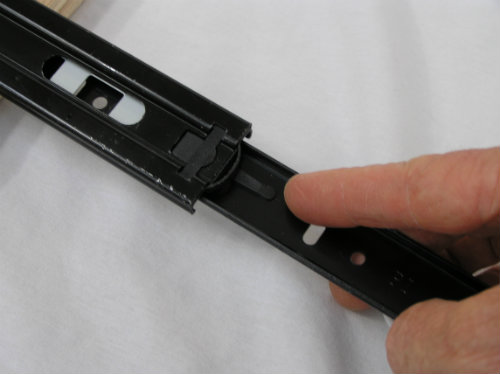
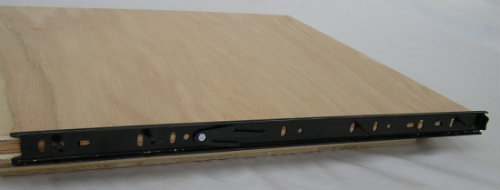
If you ordered sliding shelves, disengage the shelf slide center by depressing the lever as shown.
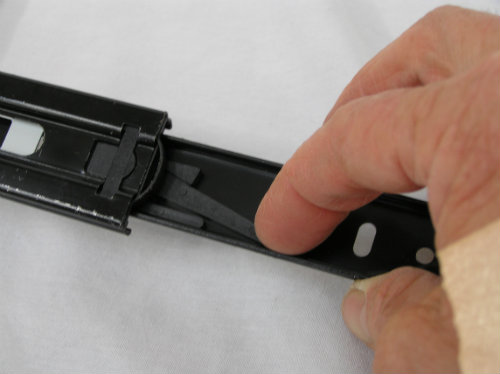
Pull the center piece out of slide body.
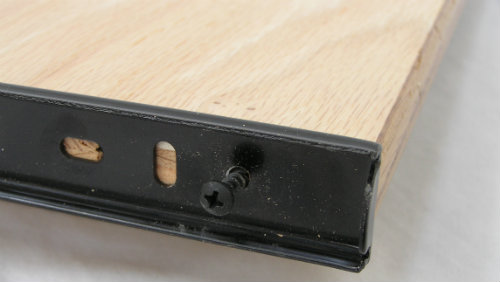
Fasten closed end of center piece to pre-drilled slide shelf edge.
Picture shows it flush with the front edge of the shelf.
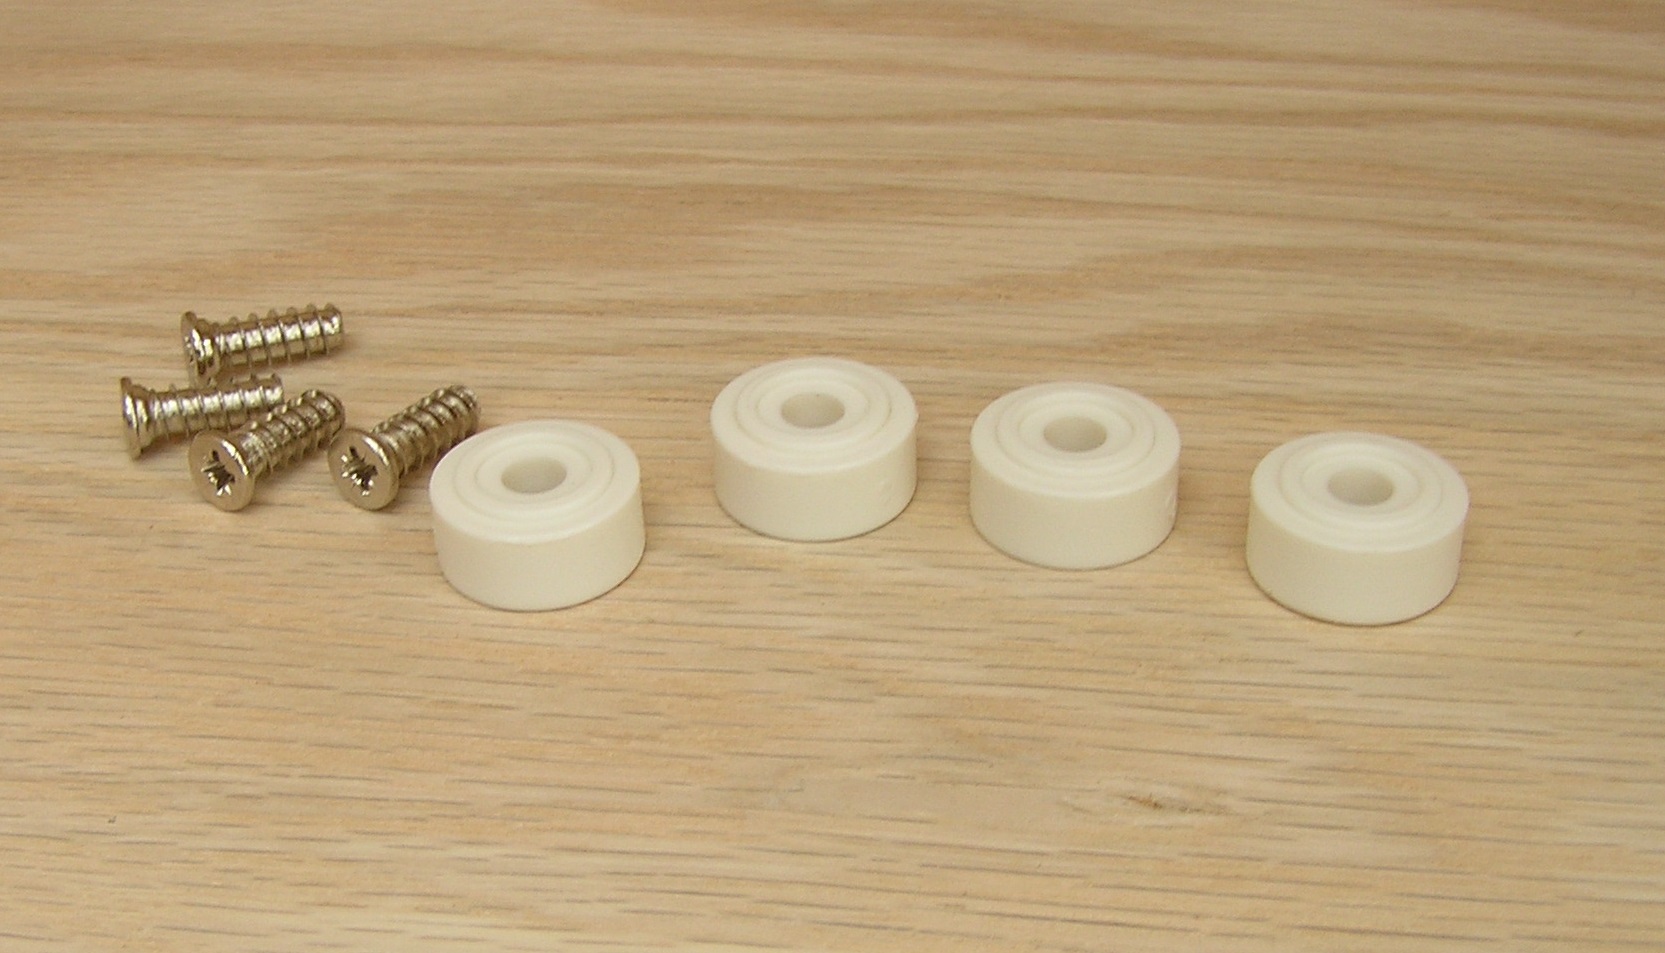
Above picture is the long euro screws and white button stand-offs used for a slide mount to cabinet sides.
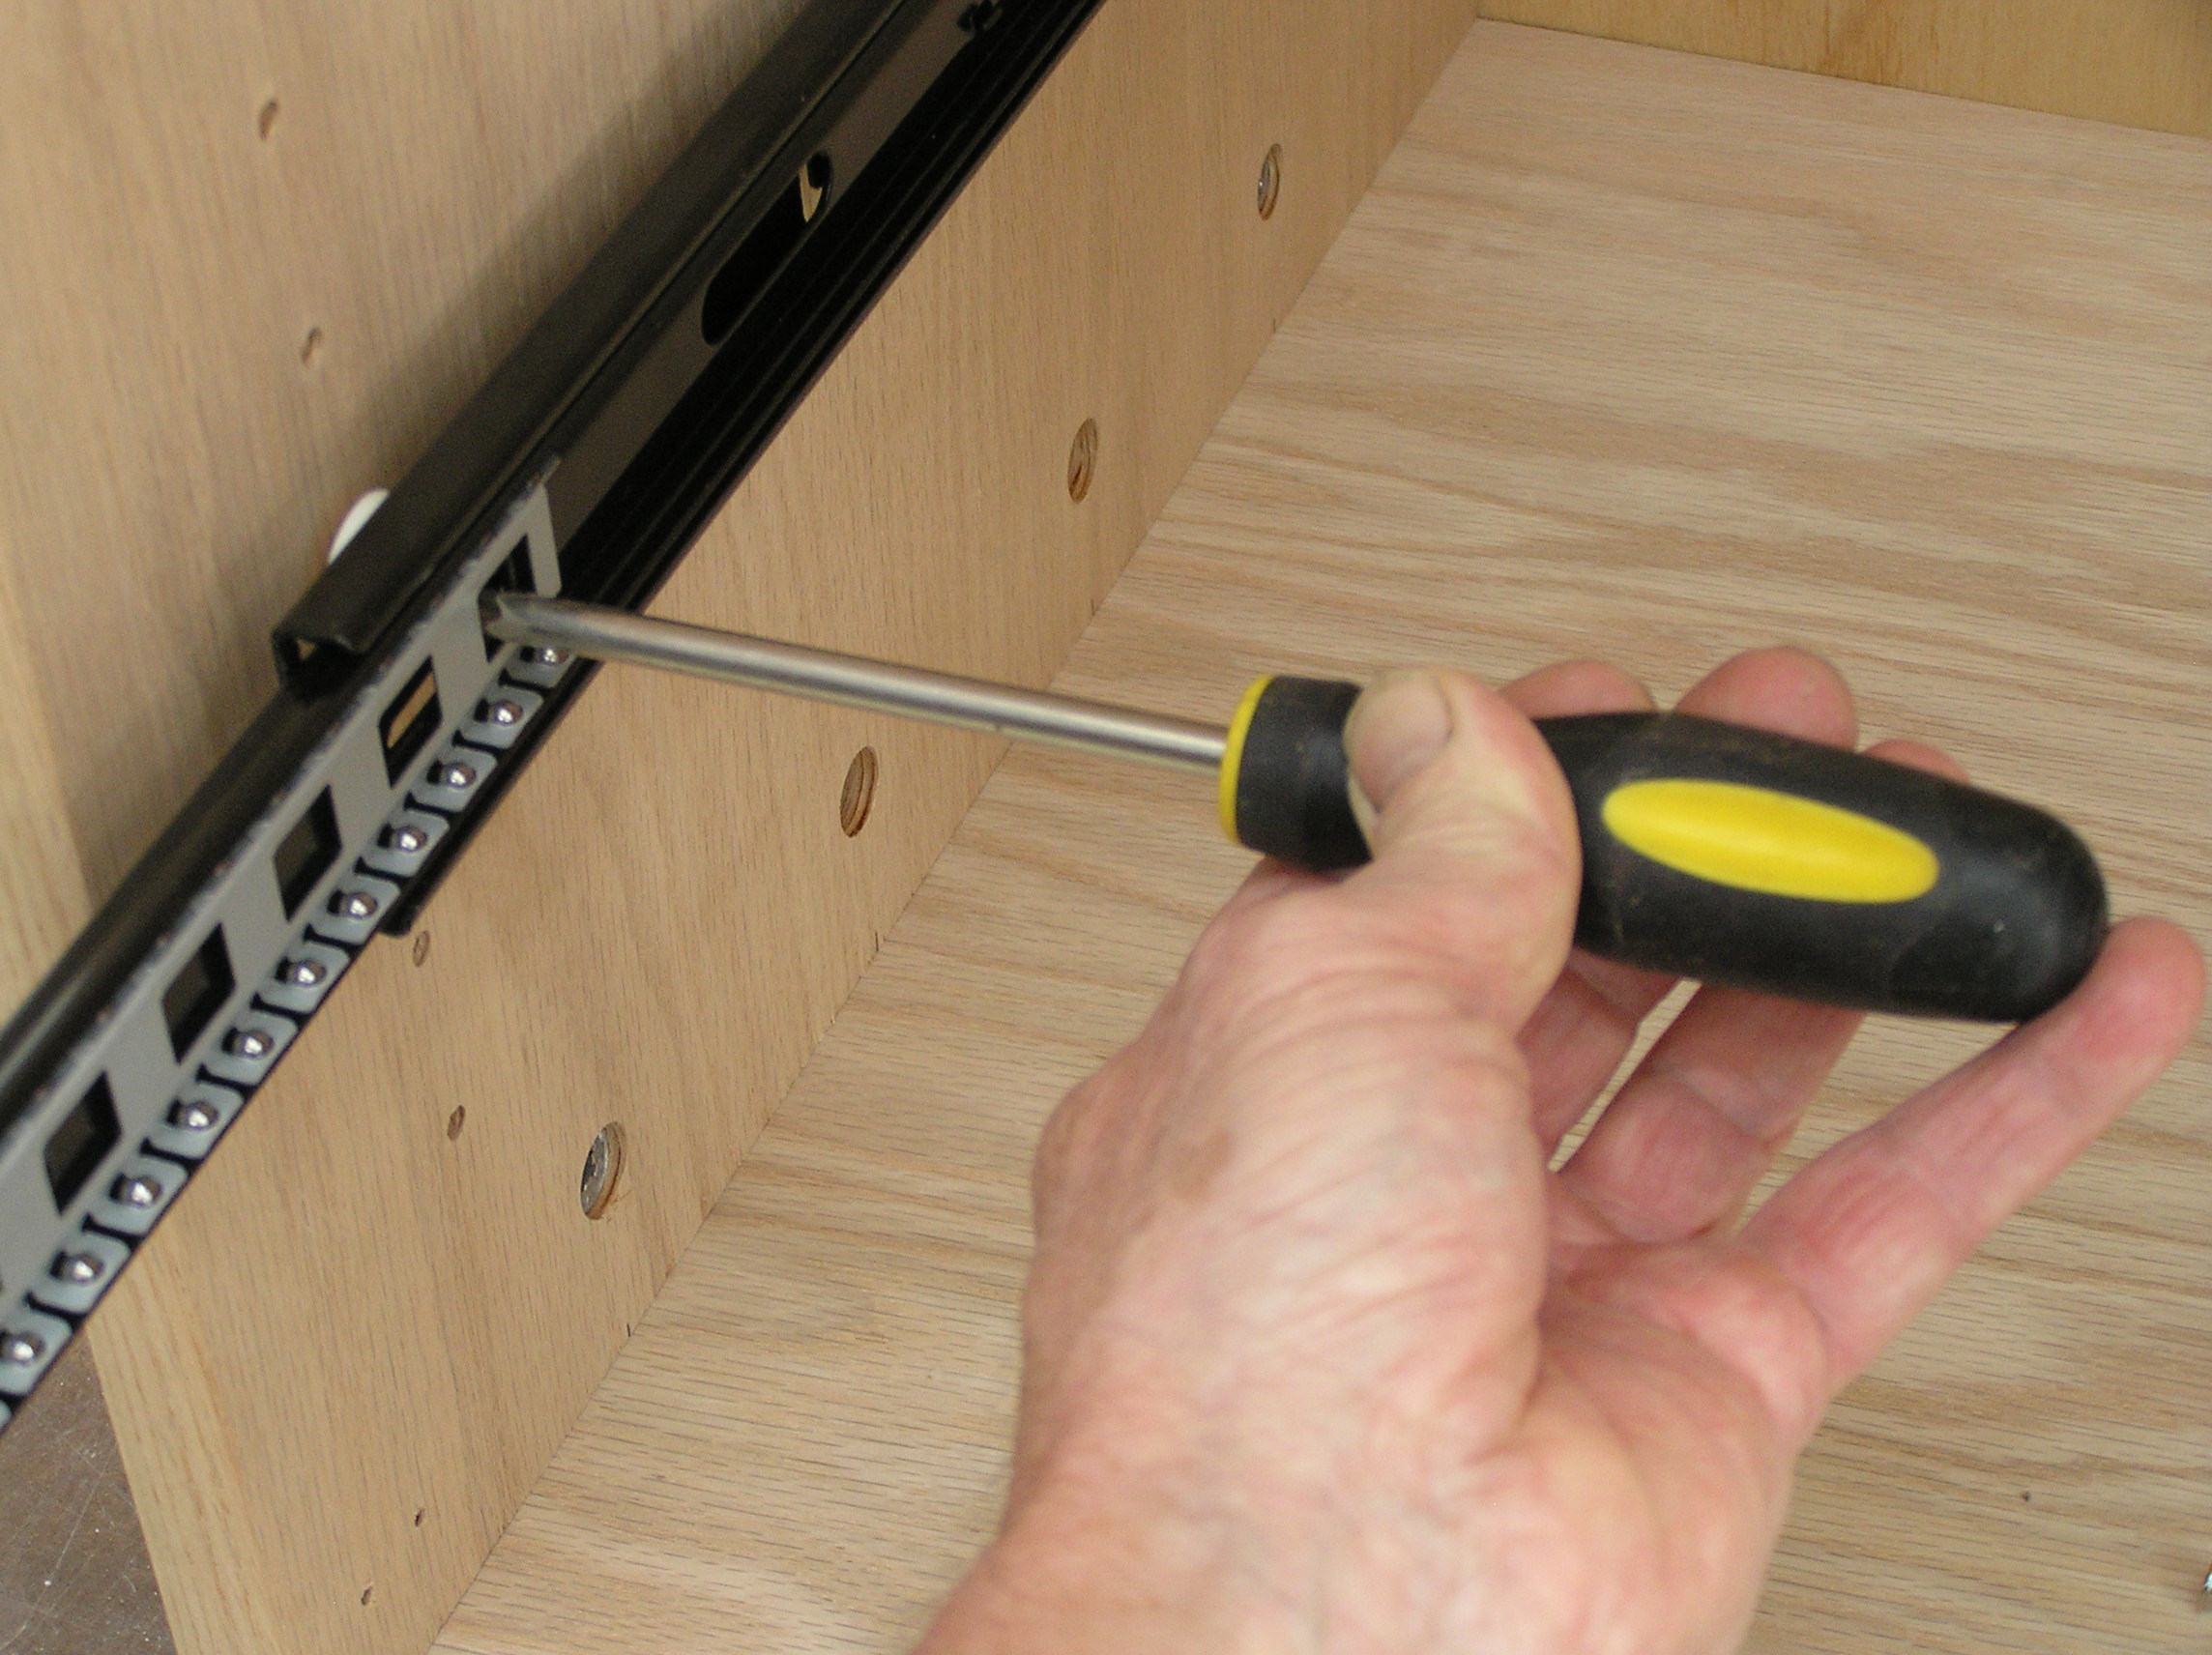
Use long euro screw and white stand off to mount slide to shelf support hole.
Large hole in the front of the slide body accepts screw. Be sure the rubber slide tip faces the front of cabinet.
Fasten second screw at rear of slide body. Be sure the rubber bumper faces the back of cabinet.
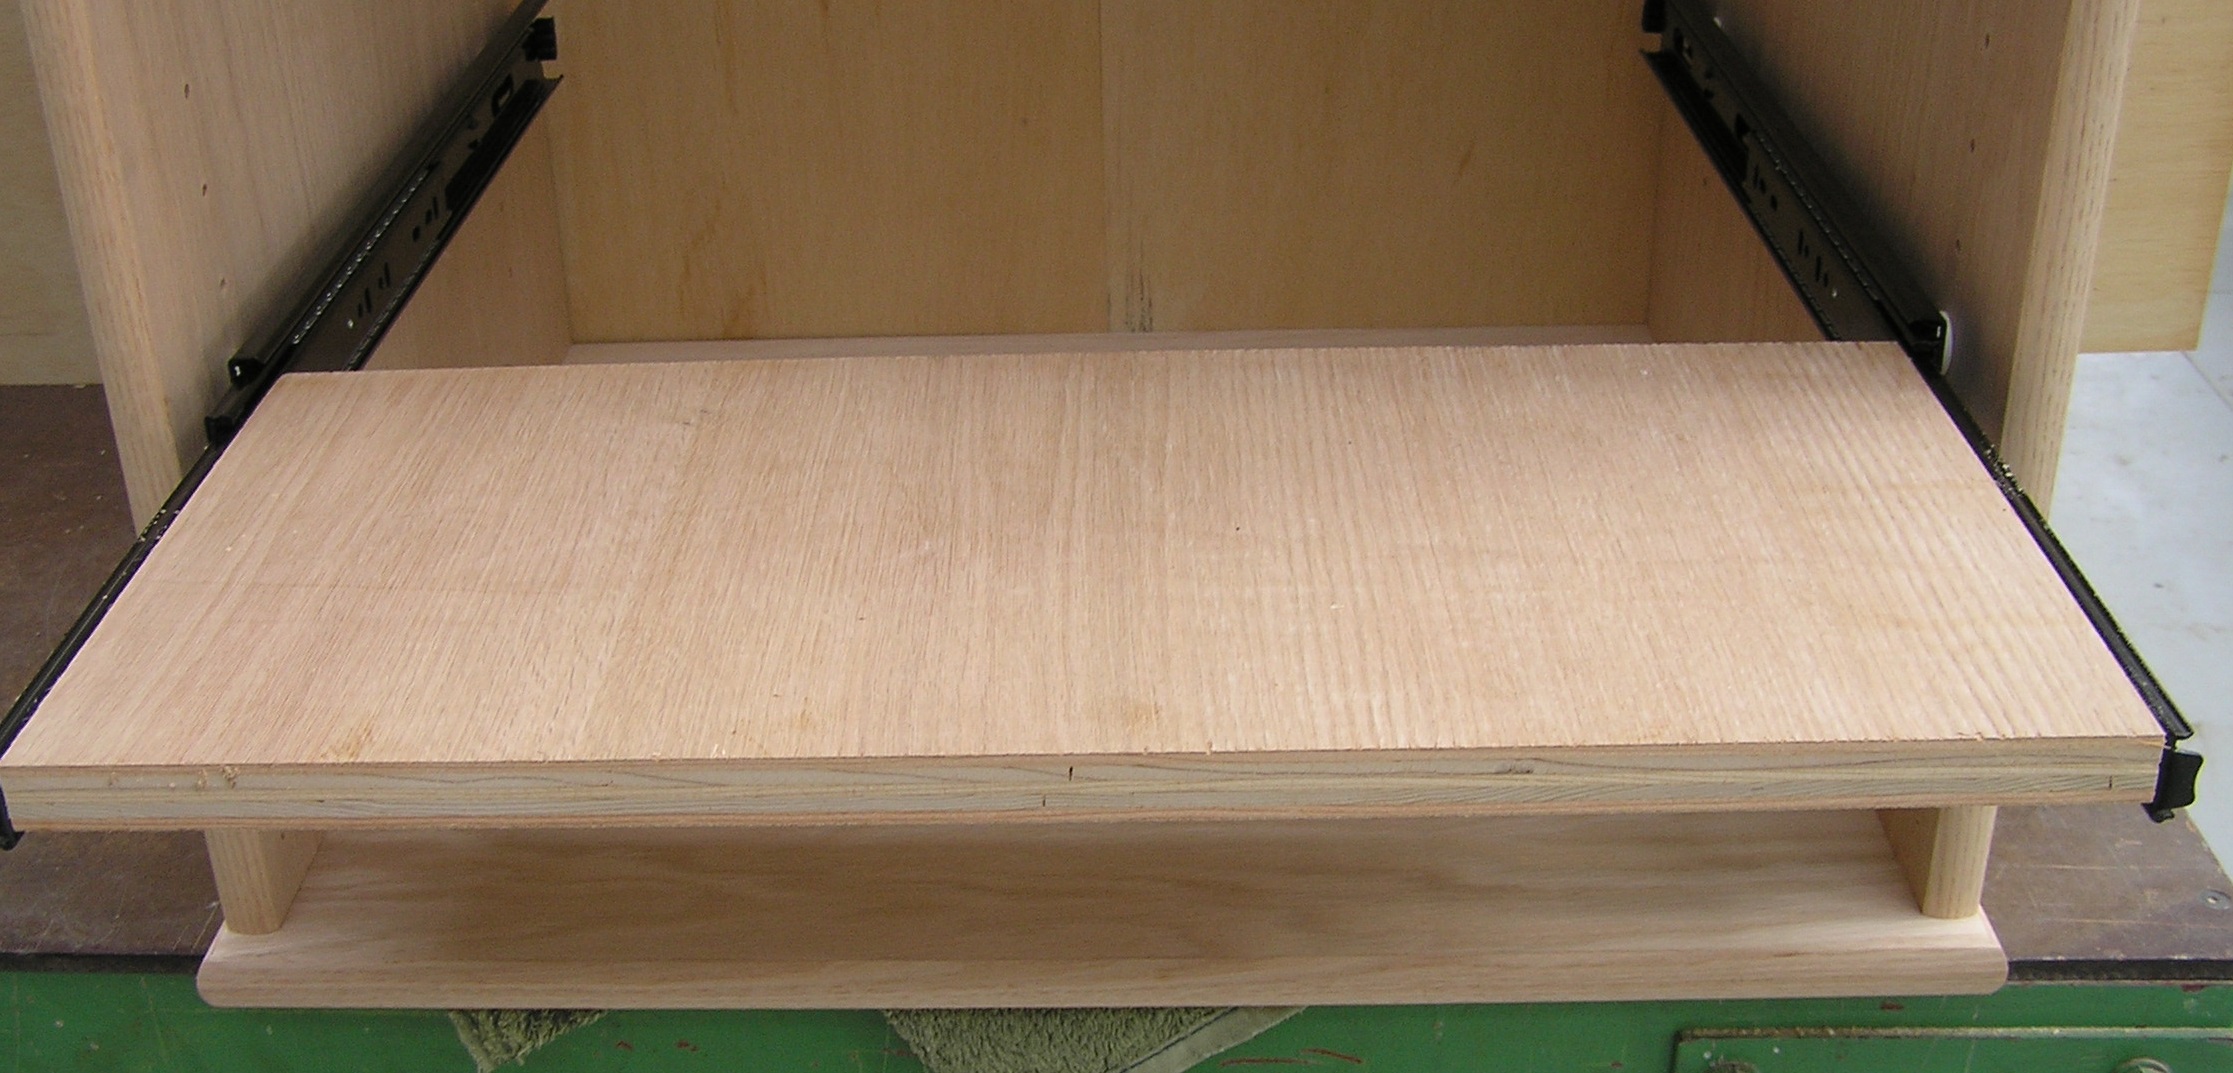
Here's the slide complete using interior stand-offs.
Pull the center of the mounted body slides completely out. Insert completed shelf in body slides. Slide in and out twice to ensure proper action.
What follows below is an assembly sequence for the DVD swivel towers/bookcases.

Hinges mounted on sides for glass doors.
Shelf locking pins used in taller DVD400 and DVD600 models.
Illustrating locking shelf engaged with threaded stud.

Side with hinges attached.
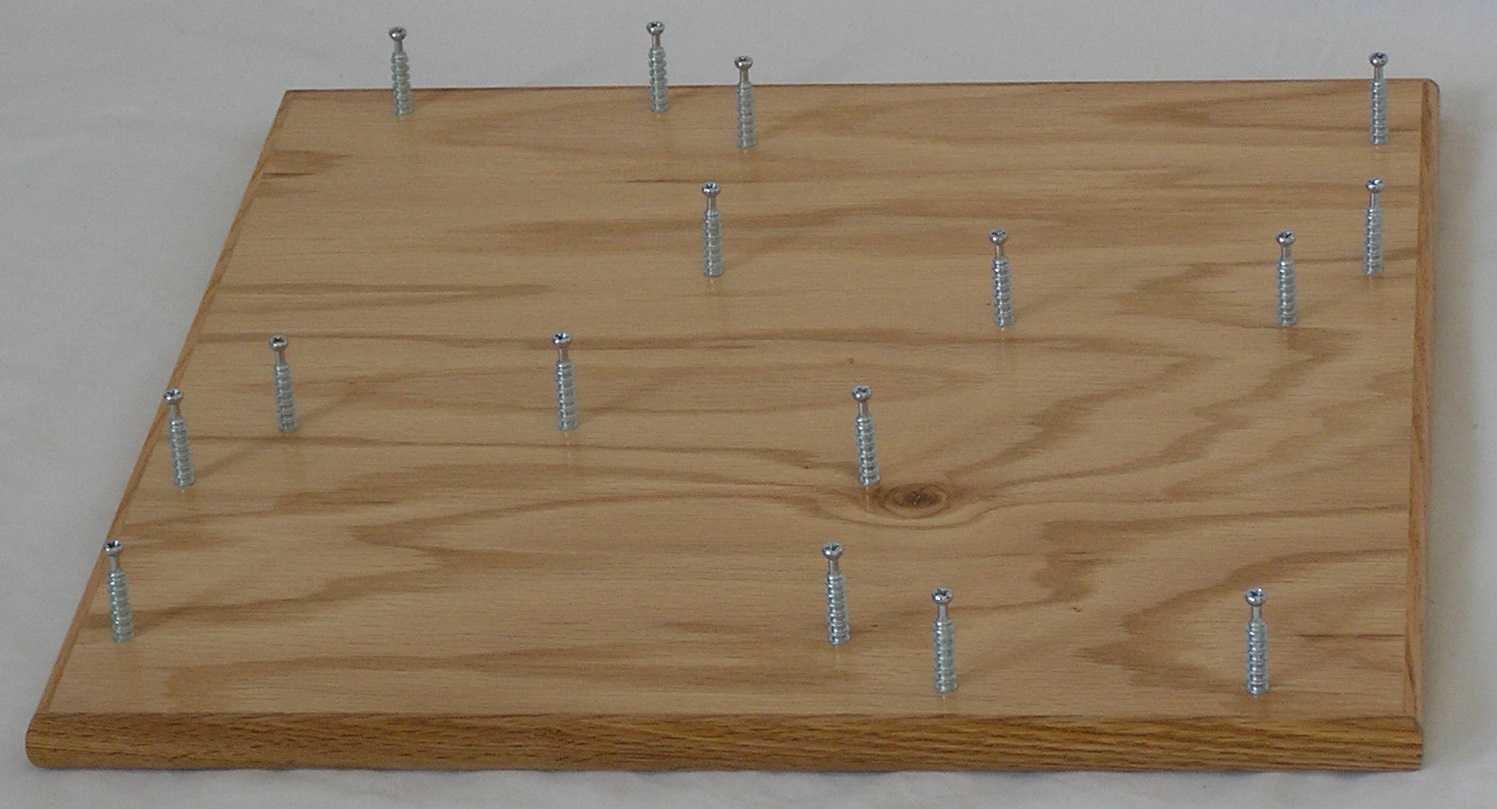
Top face down on carpet with pins threaded in to first flat fin.
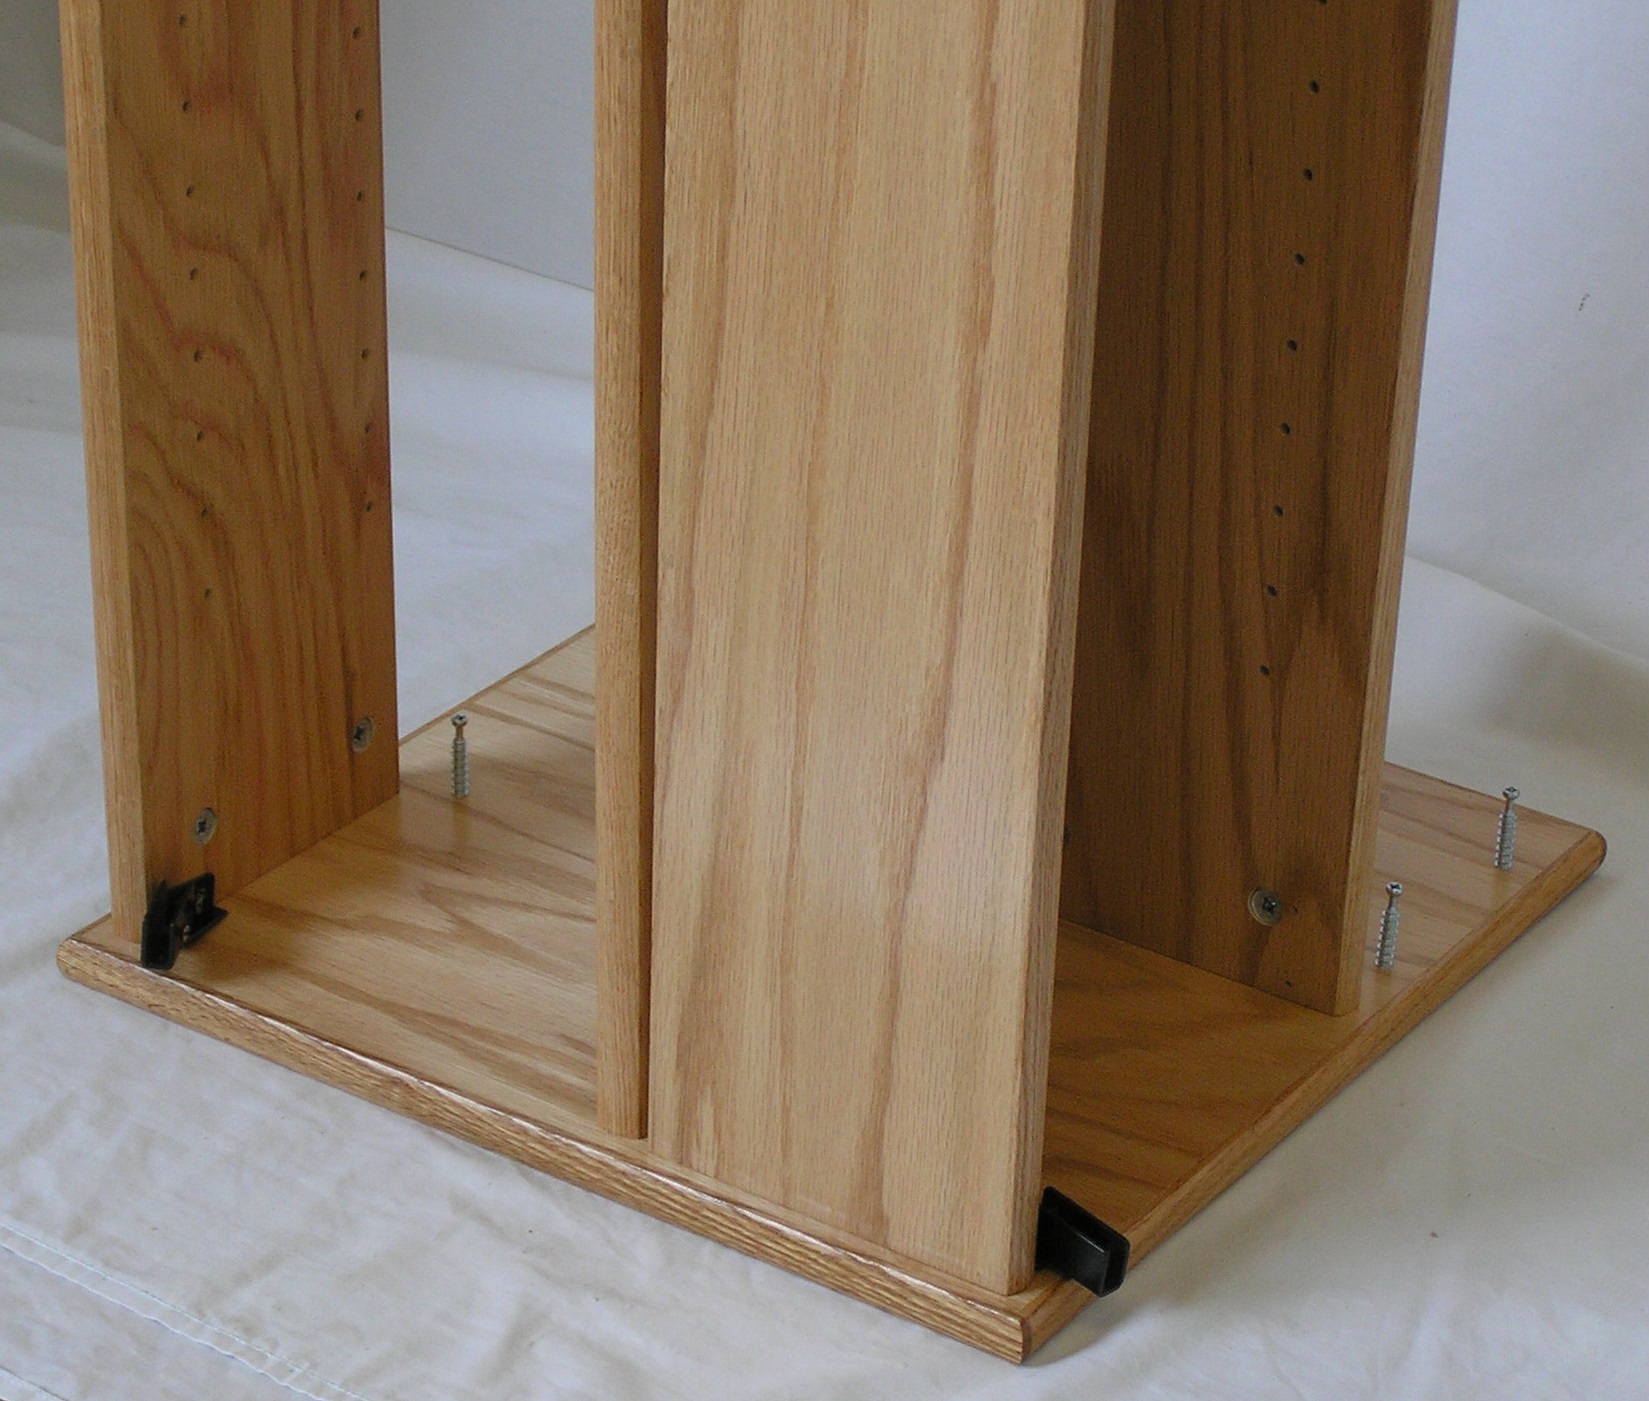
Pin and cam fastens side to top. (see beginning of assembly)
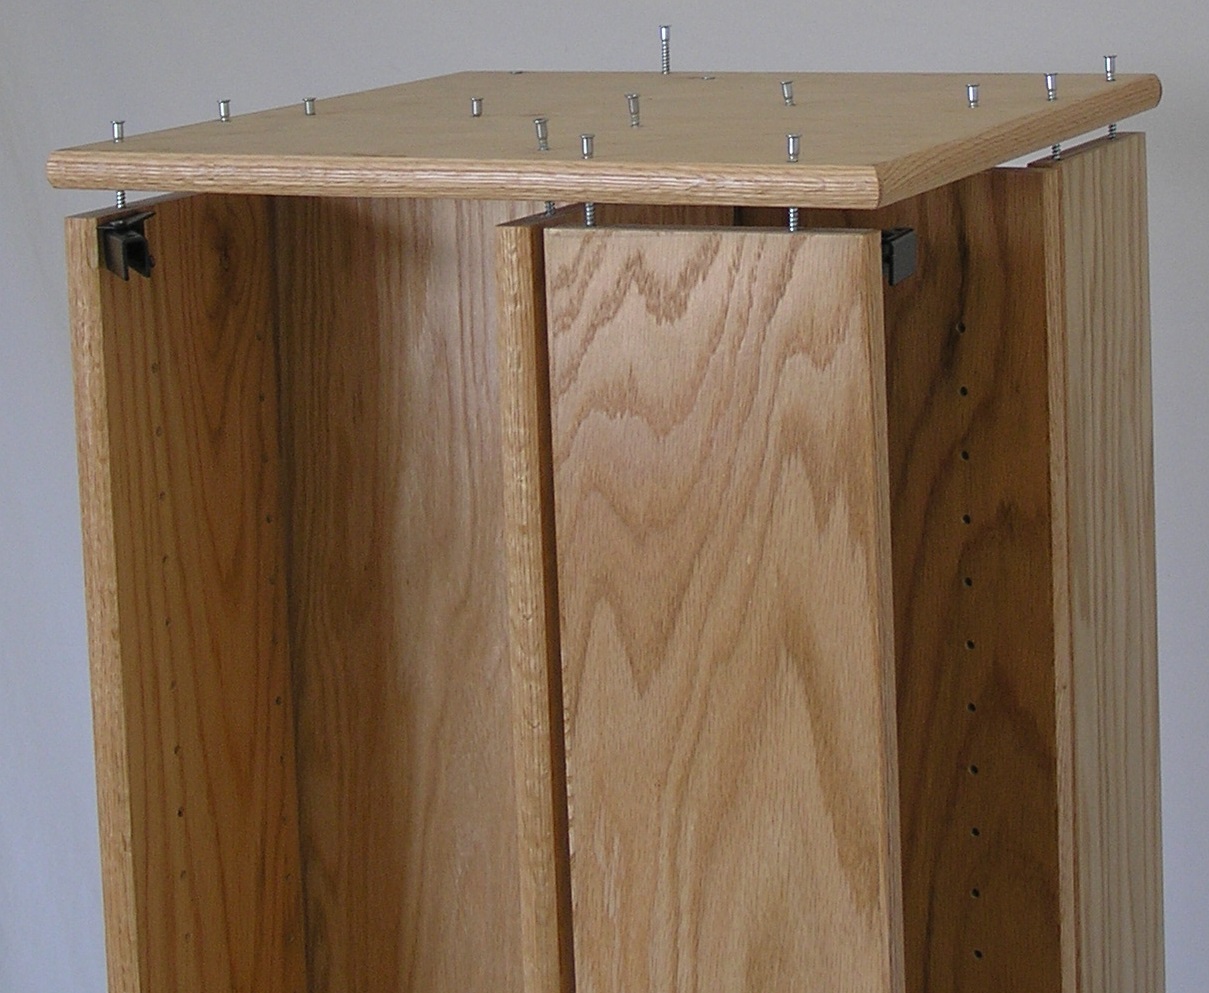
Bottom attaches with assembly screws with provided Allen wrench. (See beginning of assembly sequence.)
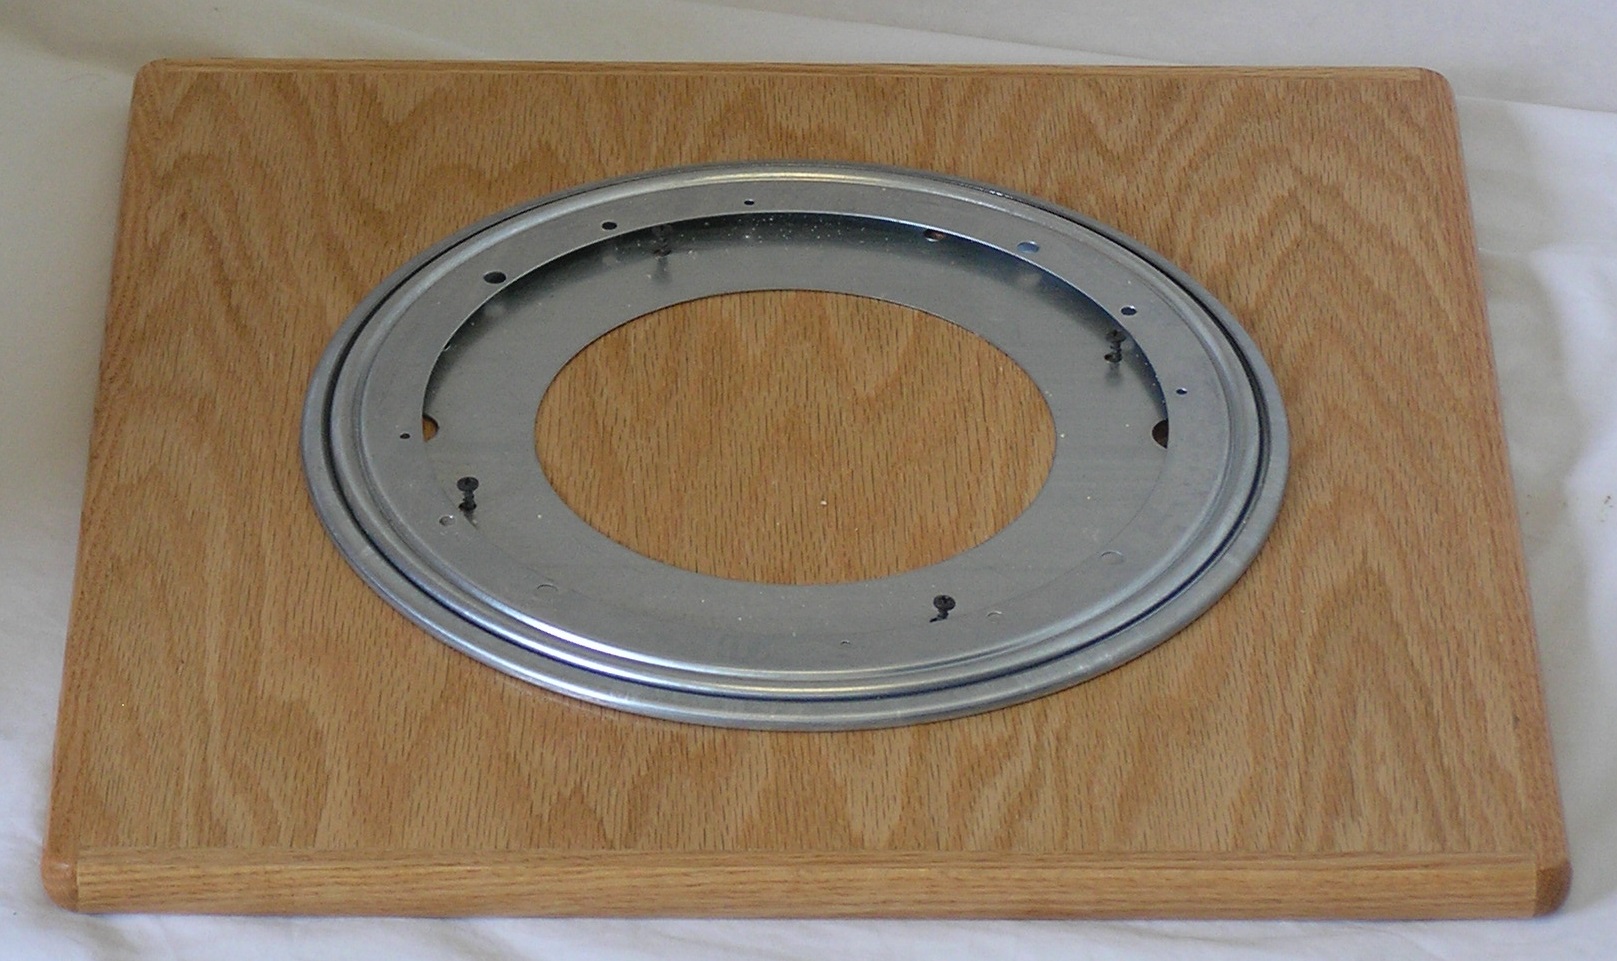
Inside circle of swivel attaches to base with small black screws.
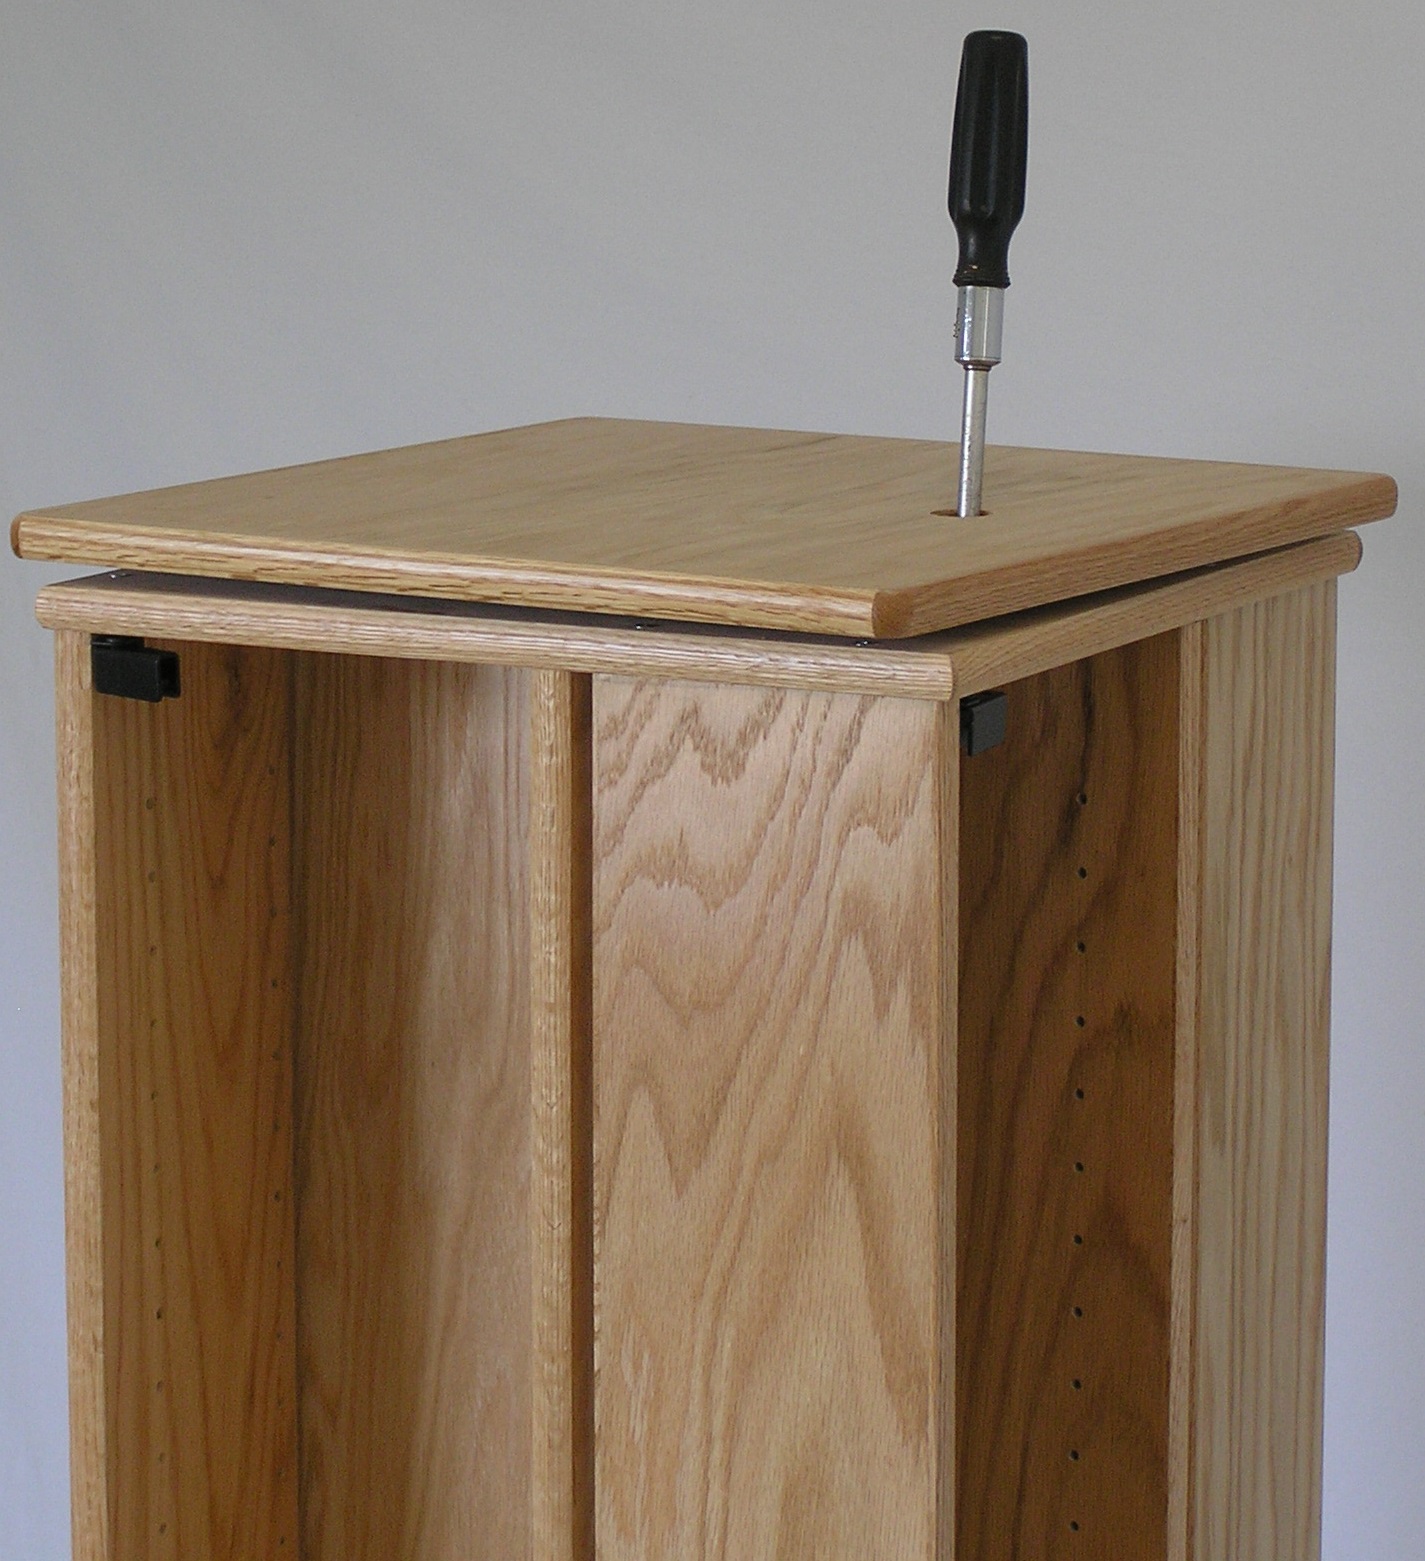
Outside circle of base attaches to underside of bottom through drilled access hole.
